Why are cream cheese mints a hit at parties? They’re easy to make at home with simple recipes. You can make them for any event, adding fun flavors and colors. This makes them perfect for any gathering.
Need a dessert for a wedding, birthday, or holiday? Cream cheese mints are perfect. They’re simple to make and can match your event’s theme. Your guests will enjoy these tasty and elegant treats.
The Sweet History of Wedding Cream Cheese Mints
Exploring the origins of cream cheese wedding mints is fascinating. They have a rich history tied to the tradition of giving treats to guests. These treats symbolize love and appreciation.
Wedding mints, including cream cheese ones, have ancient roots. In the past, sweets were rare and expensive. Only the wealthy could give them as gifts, making them a status symbol. As sugar became more common, wedding mints became a favorite at celebrations.
Origins of Cream Cheese Mints
Cream cheese wedding mints have a unique history. Their creamy texture and tangy flavor make them a hit. The early 20th century saw cream cheese become popular in baking.
Why They Became Popular at Celebrations
Wedding mints, like cream cheese ones, are loved for their ease and customization. They make great gifts for guests, reminding them of the special day.
Evolution of Traditional of Cream Cheese Mint
Traditional wedding mint recipes have changed over time. New ingredients and flavors have been added. Cream cheese mints are now a favorite, thanks to their versatility and ease of making. They’re perfect for DIY wedding planning, adding a personal touch.
| Type of Mint | Ingredients | Flavor |
|---|---|---|
| Cream Cheese Mint | Cream cheese, sugar, vanilla | Tangy and sweet |
| Peppermint Mint | Peppermint extract, sugar, cream | Cool and refreshing |
Essential Ingredients for Perfect Cream Cheese Mints
To make perfect cream cheese mints, you’ll need a few key ingredients. The quality of these ingredients can make all the difference in the taste and texture of your mints. When it comes to a cream cheese peppermint candy recipe, the type of cream cheese you use is crucial. Look for a high-quality cream cheese that is fresh and has a good balance of tanginess and richness.
Another important ingredient is powdered sugar. This will help to balance out the tanginess of the cream cheese and add a touch of sweetness to your mints. You’ll also need peppermint extract to give your mints that classic peppermint flavor. When choosing a peppermint extract, make sure to select a high-quality one that is made from real peppermint oil.
Here are the essential ingredients you’ll need for a basic cream cheese peppermint candy recipe:
- 8 ounces cream cheese
- 1/2 cup powdered sugar
- 1/4 teaspoon peppermint extract
By using these ingredients and following a simple cream cheese peppermint candy recipe, you can create delicious and refreshing mints. They are perfect for any occasion. Whether you’re making them for a special event or just as a treat for yourself, the key to perfect cream cheese mints is to use high-quality ingredients. Also, don’t be afraid to experiment with different flavors and combinations.
Kitchen Tools and Equipment You’ll Need
Making tasty molded mints begins with the right tools. The right equipment makes the process easier and makes your mints look great.
Essential Molds and Shapes
Choosing the right molds is key for your molded mints. Here are some must-haves:
- Silicone Molds: Flexible and easy to use, perfect for intricate designs.
- Metal Molds: Durable and great for uniform shapes.
- Plastic Molds: Affordable and available in various shapes.
Optional Decorating Tools
Take your molded mints to the next level with these decorating tools:
- Piping Bags: For precise application of toppings.
- Food Coloring Brushes: Add subtle color accents.
- Sprinkle Shakers: Perfect for adding decorative sprinkles.

| Tool Type | Essential | Optional |
|---|---|---|
| Molds | Silicone, Metal, Plastic | N/A |
| Decorating Tools | N/A | Piping Bags, Food Coloring Brushes, Sprinkle Shakers |
| Additional Equipment | Mixing Bowls, Spatulas | Airbrush Kits |
Step-by-Step Guide to Making Cream Cheese Mints
Making your own cream cheese mint recipes is easy and fun. Follow these steps to create delicious treats that everyone will love.
Preparing Your Workspace
Begin by cleaning your kitchen. Gather all the ingredients and tools you need. Make sure you have cream cheese, sugar, flavorings, food coloring, and molds ready.
Mixing the Base for Cream Cheese Mint
In a large bowl, mix softened cream cheese with powdered sugar. Keep mixing until it’s smooth and creamy. This is the base for your mint recipes.
Coloring and Flavoring
Add your favorite food coloring to the mix. You can stick with classic colors or try vibrant shades. Add flavor extracts like peppermint, vanilla, or lemon to make it taste even better.
Molding Techniques
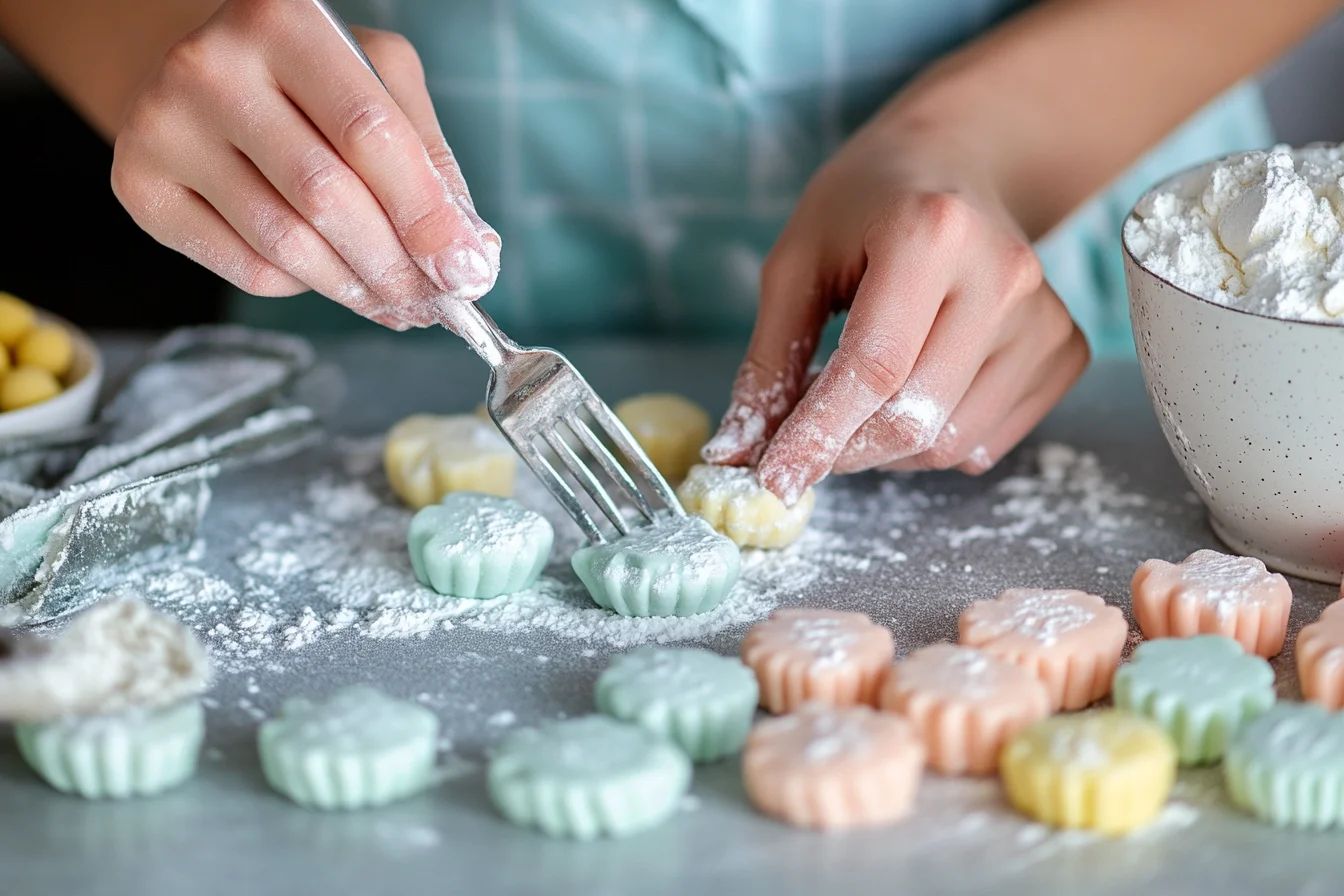
Use silicone molds to shape your mints. Fill each mold evenly and tap it gently to get rid of air bubbles. Put the molds in the fridge for at least an hour to set.
| Step | Description | Time Required |
|---|---|---|
| 1. Prepare Workspace | Clean area and gather ingredients | 10 minutes |
| 2. Mix Base | Combine cream cheese and sugar | 15 minutes |
| 3. Add Color & Flavor | Incorporate food coloring and extracts | 10 minutes |
| 4. Mold Mints | Fill molds and refrigerate | 1 hour |
Troubleshooting Common Cream Cheese Mint
When making homemade cream cheese mints, you might hit a few bumps. A common issue is, Why are my cream cheese mints sticking to the mold? Let’s look at some fixes to get your mints right every time.
Here are some tips to stop your mints from sticking:
- Grease Your Molds: Lightly coat your molds with a non-stick spray or a thin layer of butter before pouring in the mixture.
- Proper Cooling Time: Let the mints chill in the fridge for the right amount of time. Hurrying this can make them stick.
- Use Silicone Molds: Silicone molds are more flexible and less likely to cause sticking compared to rigid ones.
- Dust with Powdered Sugar: Lightly dusting the inside of the mold with powdered sugar can create a barrier, making it easier to remove the mints.
If your mints are stuck, gently wiggle the mold or use a small offset spatula to carefully lift them out. Remember, even experienced bakers face these challenges sometimes.
Creative Flavor Variations and Color Combinations
Make your cream cheese mint recipes special by trying new flavors and colors. This approach not only makes your treats unique but also appeals to different tastes.
Popular Flavor Options
- Chocolate Chip: Add mini chocolate chips for a classic favorite.
- Peanut Butter Swirl: Incorporate peanut butter for a rich, nutty taste.
- Vanilla Almond: Infuse vanilla extract and sliced almonds for a subtle, crunchy texture.
Seasonal Color Ideas
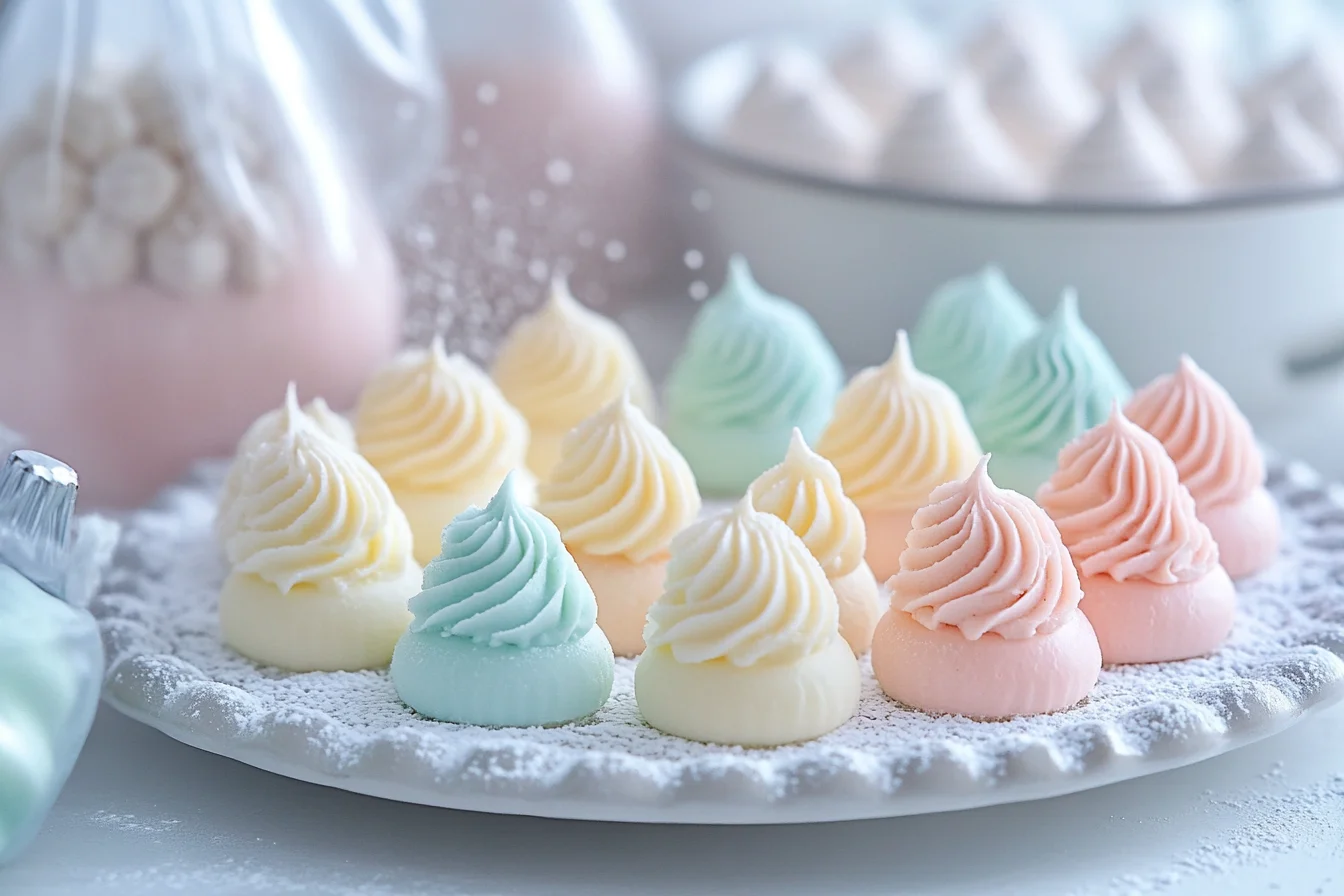
- Spring Pastels: Use light pinks, greens, and yellows to reflect the season.
- Autumn Hues: Incorporate oranges, browns, and deep reds for a cozy feel.
- Winter Whites and Blues: Utilize white and blue shades to evoke a frosty ambiance.
Special Occasion Themes
- Holiday Cheer: Red and green colors with peppermint flavor for Christmas.
- Romantic Reds: Deep reds and chocolate flavors for Valentine’s Day.
- Graduation Glam: School colors incorporated into your cream cheese mint recipes for a festive touch.
Storage Tips and Shelf Life
Keeping your homemade cream cheese mints fresh is key. Knowing how long they last in the freezer is important. This way, they’ll be perfect for your special events.
Room Temperature Storage
For a week’s worth of enjoyment, store them at room temperature. Use an airtight container to keep them fresh. This prevents drying out and absorbing unwanted flavors.
Refrigeration Guidelines
For longer freshness, refrigerate your mints. They can last up to two weeks in the fridge. Always keep them in a sealed container to preserve their texture and taste.
Freezing Methods
Freezing is the best choice for longer storage. But how long can you keep them in the freezer? If stored properly in an airtight container or freezer bag, they last up to three months. Let them thaw in the fridge for a few hours before serving.
Serving Suggestions and Presentation Ideas

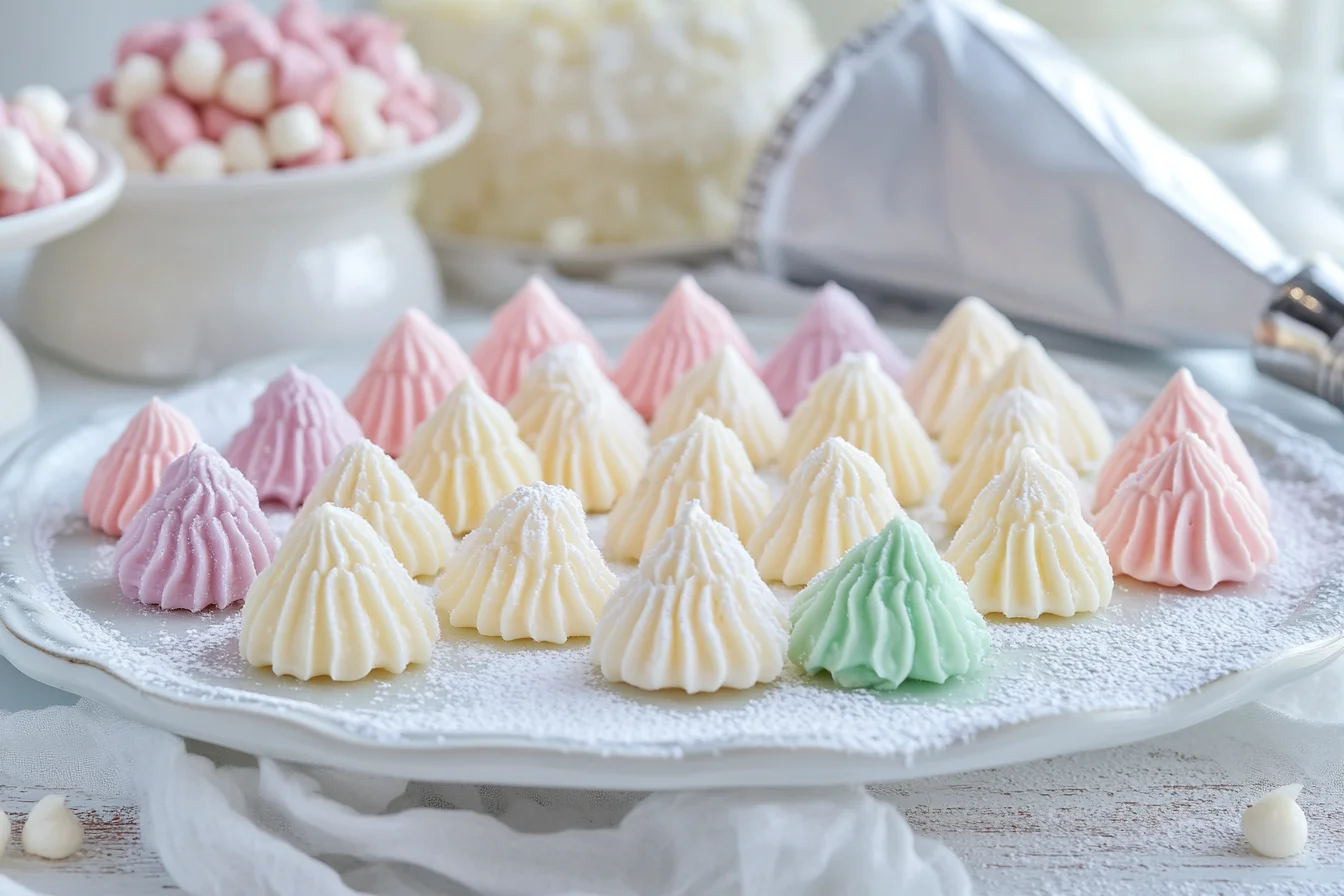
Make your wedding mints stand out with stylish presentation. Place them on elegant trays with fresh flowers or greenery. This matches your wedding theme perfectly.
Consider using mirrored trays for a sophisticated look. Small glass jars with personalized labels are great favors for guests.
Try using decorative glass domes or tiered stands for a unique display. This showcases your mints beautifully and lets guests serve themselves easily.
- Personalized favor boxes with the couple’s names and wedding date
- Mini mason jars tied with ribbons in wedding colors
- Decorative tins featuring elegant designs
- Clear acrylic trays for a modern and sleek look
Thoughtful packaging makes your wedding mints a special keepsake for guests. Use your wedding colors and theme to create a beautiful presentation. This will enhance your special day.
| Presentation Idea | Description | Benefits |
|---|---|---|
| Floral Trays | Arrange mints on trays decorated with fresh flowers. | Enhances visual appeal and matches wedding decor. |
| Personalized Jars | Use jars with custom labels featuring names and dates. | Provides a memorable and personalized favor. |
| Tiered Stands | Display mints on multi-level stands for an elegant look. | Saves space and creates an eye-catching display. |
| Decorative Tins | Package mints in stylish tins that guests can reuse. | Offers practicality and a keepsake item. |
Calculating Quantities for Events
Planning the perfect event means making sure you have enough treats for everyone. Knowing how many mints per person for a wedding is key to your preparations.
Wedding Serving Guidelines
For weddings, aim for one mint per person. This way, every guest gets a sweet memory of your day. If you’re expecting a big crowd or want to offer different flavors, think about giving two mints per person. It’s safer to have a bit extra than to not have enough.
Party Planning Tips
For smaller parties or casual get-togethers, adjust your mint count. One to two mints per guest is usually enough. If there are other desserts or snacks, you might stick with one mint per person. Think about how long the party will last and if guests might want more.
Conclusion: Creating Your Perfect Homemade Mints
Now you know how to make cream cheese mints that are simply delightful. These treats are perfect for any event, like weddings, baby showers, or holidays. They’re sure to wow your guests and satisfy their sweet tooth.
Feel free to experiment with different flavors and colors. This way, you can make mints that match your style and the event. It’s a fun way to show off your creativity in the kitchen.
So, what are you waiting for? Get your ingredients ready and start mixing. You’ll soon be making batches of these tasty mints. Your friends and family will love them. Enjoy making and eating these delicious treats.
FAQ
What are wedding mints made of?
Wedding mints, also known as cream cheese mints, are made from cream cheese, powdered sugar, and peppermint extract. They have a creamy texture and a refreshing minty taste. This makes them a favorite for weddings and other celebrations.
Why are my cream cheese mints sticking to the mold?
There are a few reasons why your mints might stick to the mold. First, ensure the mold is well-greased or non-stick. Also, the mixture should have the right consistency, not too soft or too firm. Chilling the molds before filling can also help prevent sticking.
How long can you keep cream cheese mints in the freezer after?
You can keep cream cheese mints in the freezer for up to 3 months if stored properly. Place them in an airtight container or freezer-safe bag to avoid freezer burn. To serve, thaw the mints at room temperature for about 30 minutes.
How many cream cheese mint per person for a wedding?
For a wedding, it’s common to offer 2-3 mints per person. This allows guests to enjoy a few mints and still have some left for others. Adjust the number based on your total guests and how important the mints are in your dessert or favor.

