
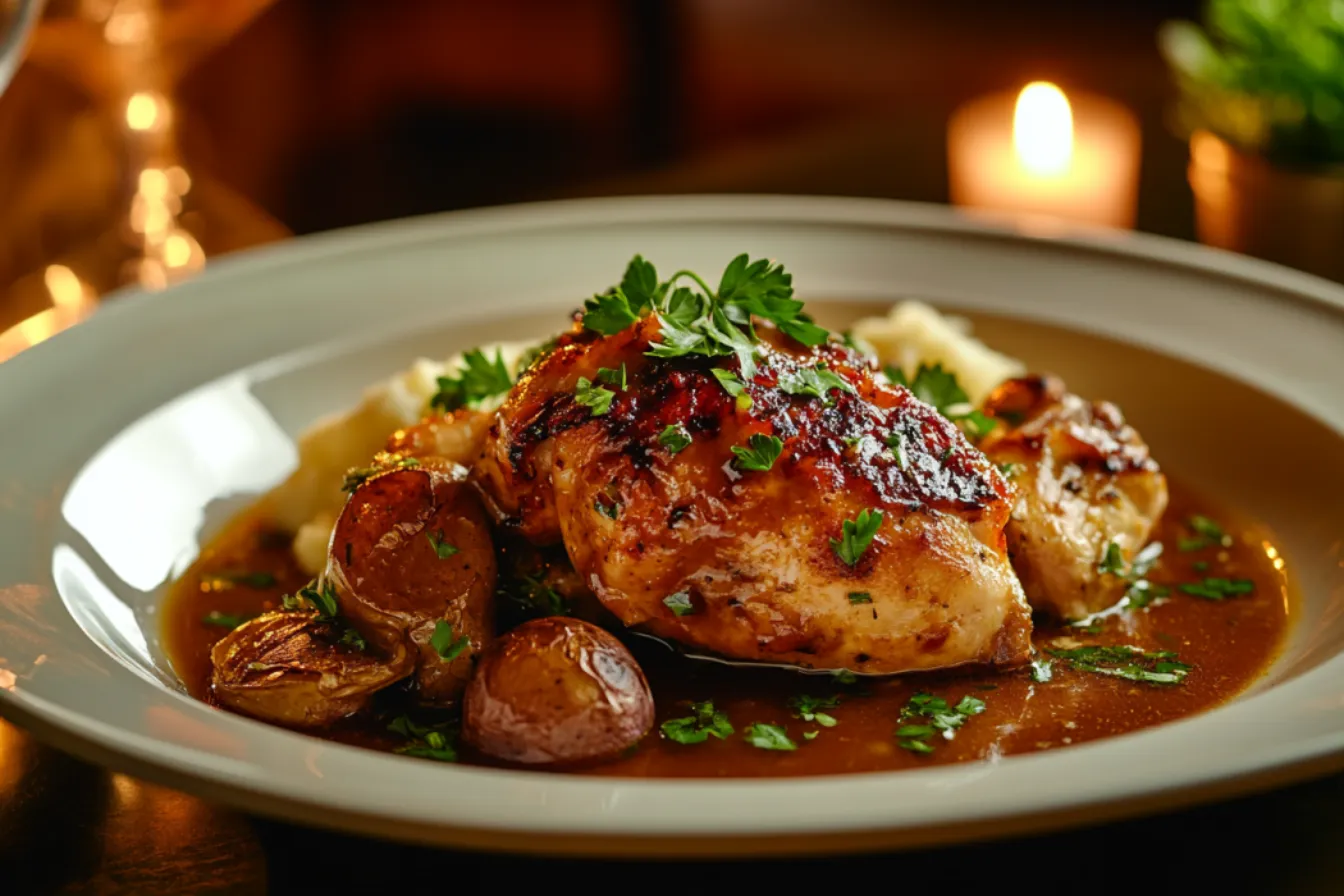
There’s nothing quite like the aroma of a well-executed braised chicken dish wafting through the kitchen. This timeless comfort food recipe is a true culinary delight, showcasing the tender, flavorful chicken that’s been slowly simmered to perfection. The combination of herbs, wine, and a medley of vegetables creates a rich, satisfying sauce that complements the juicy, fall-off-the-bone meat.
As a family favorite, this classic braised chicken dish is a go-to for cozy, heartwarming meals. Whether you’re serving it for a weeknight dinner or a special occasion, the flavors will transport you to a state of pure bliss. Prepare to indulge in a truly comforting and delectable dining experience.
Key Takeaways
- Tender, juicy chicken cooked to perfection
- Flavorful blend of herbs, wine, and vegetables
- Timeless comfort food recipe for any occasion
- Easy to prepare, perfect for busy weeknights
- Satisfying and heartwarming dining experience
Understanding the Art of Braised Chicken
As a classic cooking technique, braising is a culinary art form that transforms ordinary chicken into a mouthwatering, tender delight. At its core, braising involves slowly cooking the chicken in a flavorful liquid, allowing the meat to become infused with rich, complex flavors.
The Science Behind Braising Technique
The magic of braising lies in its ability to break down the tough connective tissues within the chicken, transforming them into a silky, succulent texture. This process is driven by the combination of gentle heat and the gradual absorption of the braising liquid, which penetrates deep into the meat. As the chicken cooks, the collagen in the connective tissues slowly transforms into gelatin, resulting in the fall-off-the-bone tenderness that makes braised chicken so irresistible.
Why Braising Creates Tender Meat
The key to tender meat in braised chicken is the low and slow cooking method. By simmering the chicken at a gentle temperature, typically between 275°F and 325°F, the muscle fibers have ample time to relax and break down, leading to a melt-in-your-mouth texture. This controlled environment also allows the flavors of the braising liquid to infuse the chicken, creating a depth of taste that simply cannot be achieved through other cooking methods.
Historical Origins of Braising
The art of braising has a rich history, with roots tracing back to ancient civilizations. This technique has been used in various cuisines around the world, from the slow-cooked tagines of North Africa to the Dutch ovens of Europe. Over time, braising has evolved, with chefs and home cooks alike experimenting with different liquids, seasonings, and techniques to create their own unique interpretations of this timeless cooking method.
Essential Equipment for Perfect Braised Chicken
Achieving the rich, tender results of braised chicken requires the right equipment. From classic Dutch ovens to modern slow cookers, the tools you choose can make all the difference in the final dish. Let’s explore the essential braising equipment that will help you master this comforting cooking technique.
The Versatile Dutch Oven
The Dutch oven is a staple in any well-equipped kitchen for good reason. Its heavy, lidded construction and even heat distribution make it an ideal vessel for braising. The tight-fitting lid helps to retain moisture, while the cast-iron or enameled interior provides excellent heat retention and distribution. Dutch ovens are available in a range of sizes, allowing you to tackle small batches or large family-style meals with ease.
The Convenient Slow Cooker for Braised Chicken
For hands-off braising, a slow cooker is a lifesaver. These appliances gradually simmer ingredients at a low temperature, resulting in fork-tender chicken that practically falls off the bone. Slow cookers come in various sizes, from compact models perfect for couples to large-capacity options suitable for feeding a crowd. Their programmable settings make it easy to achieve the perfect braising temperature and duration, even while you’re away from the kitchen.
While Dutch ovens and slow cookers are the standout options for braising, there are other tools that can also get the job done. Braising can be accomplished in heavy-duty roasting pans, covered casserole dishes, or even large, deep skillets with tight-fitting lids. The key is to choose a vessel that can retain heat and moisture, allowing the chicken to slowly tenderize in the flavorful liquid.
| Equipment | Benefits | Considerations |
|---|---|---|
| Dutch Oven | – Even heat distribution – Retains moisture – Heavy-duty construction |
– Heavier and bulkier – More expensive |
| Slow Cooker | – Hands-off cooking – Programmable settings – Variety of sizes |
– Limited heat control – Requires planning ahead |
| Roasting Pan/Casserole | – Versatile for braising – May already own |
– Requires close monitoring – May not retain moisture as well |
No matter which braising equipment you choose, the key is to select a vessel that can maintain the optimal temperature and moisture levels for tender, flavorful results. With the right tool in hand, you’re well on your way to perfecting your braised chicken masterpiece.
Selecting the Best Chicken Cuts for Braising
When it comes to braising chicken, the choice of cut can make a significant difference in the final dish’s texture and flavor. Understanding the unique properties of different chicken parts can guide you in selecting the best cuts for this cooking method.
Dark vs. White Meat for Braising
Dark meat, such as thighs and drumsticks, is an excellent choice for braising. The higher fat content and connective tissue in these cuts break down during the long, slow cooking process, resulting in succulent, tender pieces of dark meat. On the other hand, white meat like breasts can become dry and stringy if over-braised, making it less ideal for this technique.
Quality Indicators When Choosing Chicken
When selecting quality chicken for braising, look for birds that are plump and have a firm, smooth skin. Avoid any chicken that appears discolored or has a strong odor, as these can be signs of poor quality. Additionally, choose chicken that is at room temperature before cooking, as this helps ensure even cooking throughout.
Size and Weight Considerations
The size and weight of the chicken pieces can also impact the braising process. Larger, heavier cuts like whole chicken legs or bone-in thighs may require longer cooking times to ensure they are cooked through. Smaller, more delicate cuts like boneless, skinless breasts may need less time in the braising liquid to prevent them from becoming dry and tough.
By understanding the nuances of different chicken cuts and considering factors like meat quality and size, you can ensure that your braised chicken dishes turn out perfectly tender and flavorful every time.
| Chicken Cut | Best for Braising | Cooking Time Considerations |
|---|---|---|
| Thighs | Yes | Longer cooking time |
| Drumsticks | Yes | Longer cooking time |
| Breasts | No | Shorter cooking time |
| Whole Legs | Yes | Longer cooking time |
Key Ingredients for Flavorful Braising Liquid
Crafting a delectable braised chicken dish starts with mastering the art of the braising liquid. This liquid, infused with a harmonious blend of herbs, aromatics, and wine, is the secret to unlocking the full potential of your chicken. Let’s explore the key components that lend depth and complexity to this essential element of the recipe.
Aromatic Vegetables
Onions, carrots, and celery form the foundation of a robust braising liquid. These aromatic vegetables not only add flavor but also contribute to the overall texture and body of the sauce. When sautéed to perfection, they release their natural sugars and impart a savory, caramelized essence.
Fragrant Herbs
Fresh herbs like thyme, rosemary, and bay leaves are indispensable in a flavorful braising liquid. These fragrant botanicals infuse the chicken with their distinct aromas, elevating the overall taste profile. Whether chopped and added directly to the pot or tied together in a bouquet garni, these herbs lend a comforting, rustic charm to the dish.
Flavorful Wine
The addition of wine to the braising liquid is a game-changer. Dry red wines, such as Merlot or Cabernet Sauvignon, can impart a rich, velvety mouthfeel, while white wines, like Chardonnay or Sauvignon Blanc, can lend a bright, acidic balance. The wine not only enhances the overall flavor profile but also helps tenderize the chicken, resulting in a melt-in-your-mouth texture.
By carefully selecting and incorporating these key ingredients into the braising liquid, you’ll create a foundation that elevates your braised chicken to new heights of deliciousness. Each component contributes its unique essence, blending together to form a harmonious symphony of flavors that will leave your guests craving more.
Preparation Steps Before Braising
Preparing chicken for a delectable braised dish involves several crucial steps that enhance the final flavor and texture. From proper seasoning techniques to the importance of bringing the meat to room temperature, these pre-braising procedures are essential for achieving mouthwatering results.
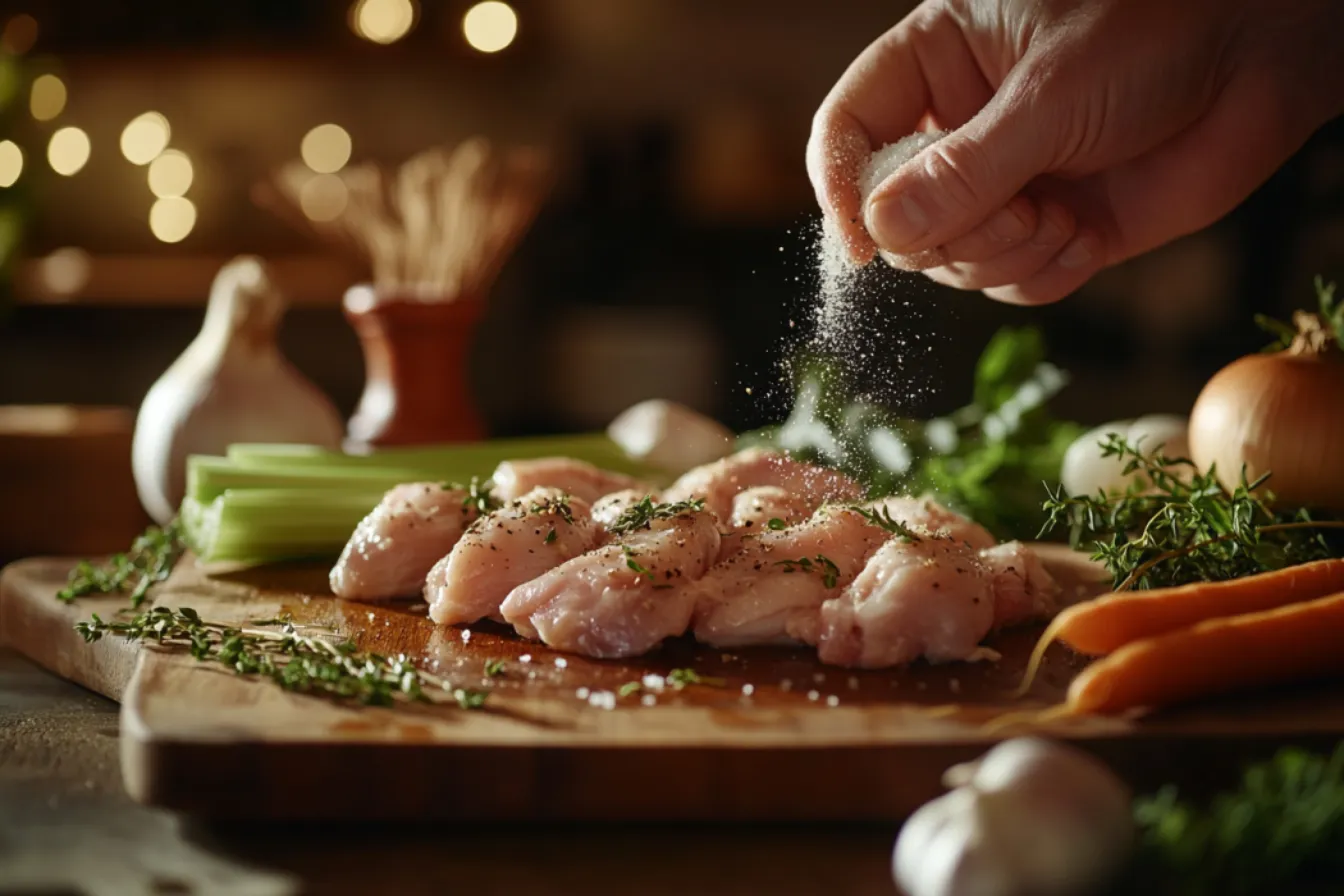
Proper Seasoning Techniques
Seasoning the chicken with a well-balanced blend of spices and herbs is the foundation for a flavorful braised dish. Generously season the chicken pieces with a mixture of salt, pepper, garlic powder, and any other desired herbs or spices. Ensure the seasoning is evenly distributed, paying special attention to hard-to-reach areas.
Importance of Room Temperature
Before searing the chicken, it is crucial to allow the meat to come to room temperature. This brings the chicken to an optimal cooking temperature, ensuring even cooking throughout. Letting the chicken sit at room temperature for 30 to 45 minutes before cooking will result in a more tender and juicy final dish.
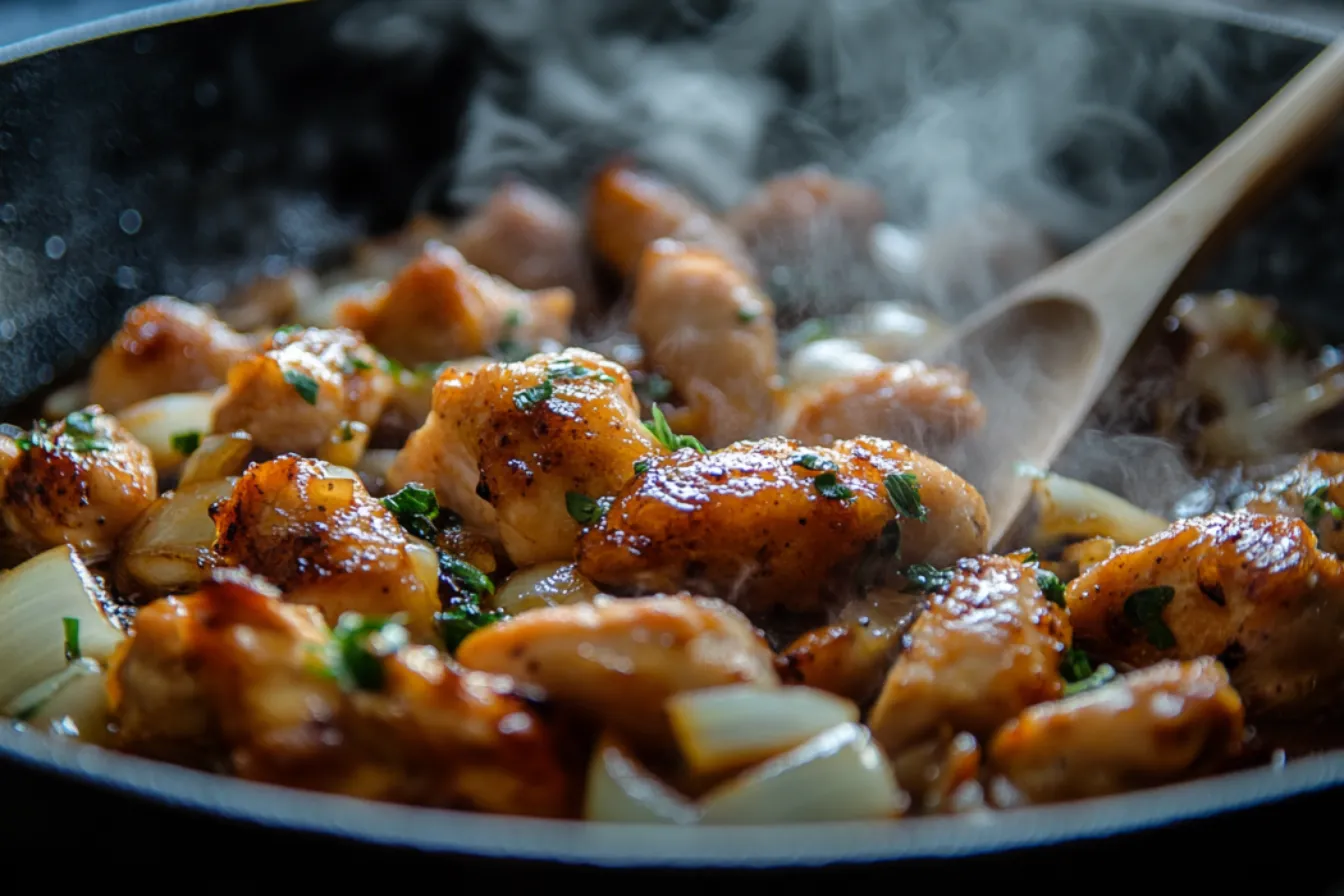
Initial Searing Process
The searing process is a crucial step in the braising method, as it helps to develop a rich, caramelized crust on the chicken. Preheat a large, heavy-bottomed pan or Dutch oven over medium-high heat. Add a small amount of high-heat oil, such as avocado or grapeseed oil, and sear the chicken pieces until they are golden brown on all sides. This initial searing step seals in the juices and enhances the overall flavor of the braised chicken.
| Preparation Step | Key Benefit |
|---|---|
| Seasoning the Chicken | Infuses the meat with a delectable blend of flavors |
| Bringing the Chicken to Room Temperature | Ensures even cooking and a more tender, juicy result |
| Searing the Chicken | Develops a rich, caramelized crust and seals in the juices |
Creating the Perfect Braising Liquid Base
Crafting the ideal braising liquid base is the key to unlocking the full flavor potential of your braised chicken dish. This flavorful foundation sets the stage for a truly memorable meal, elevating the chicken’s tender texture and infusing every bite with a robust and well-balanced flavor profile.
The selection of the right stock is a crucial step in this process. Opt for a high-quality chicken or beef stock that will provide a rich, umami-forward base. Complementing the stock, a splash of dry white wine or red wine can lend depth and complexity to the braising liquid base.
To further enhance the flavor, consider adding aromatic vegetables such as onions, carrots, and celery. These humble ingredients can work in harmony to create a well-rounded and harmonious braising liquid that will infuse your chicken with an irresistible depth of flavor.
| Ingredient | Quantity | Purpose |
|---|---|---|
| Chicken or Beef Stock | 2-3 cups | Provides a rich, savory base |
| Dry White or Red Wine | 1/2 cup | Adds depth and complexity to the flavor profile |
| Onion, diced | 1 medium | Contributes aromatic notes and sweetness |
| Carrot, sliced | 2 medium | Adds earthy, slightly sweet flavors |
| Celery, sliced | 2 stalks | Provides a subtle bitterness and crunch |
By carefully selecting and balancing these key ingredients, you can create a braising liquid base that will transform your chicken into a dish that’s worthy of any dinner table. The end result will be a tender, flavorful masterpiece that’s sure to delight your senses.
“The secret to a great braised dish lies in the quality of the braising liquid. It’s the foundation that elevates the entire meal.”
Time and Temperature Guidelines
Achieving the perfect braised chicken requires meticulous attention to cooking time and temperature. The secret to juicy, tender chicken lies in maintaining the right balance throughout the braising process.
Optimal Cooking Duration
As a general guideline, the optimal braising time for chicken is between 60 to 90 minutes. This range allows the chicken to slowly tenderize and develop rich, complex flavors. Smaller chicken cuts may require slightly less time, around 45 to 60 minutes, while larger pieces may need up to 2 hours for the meat to become fall-off-the-bone tender.
Temperature Control Tips
- Start with a high searing temperature of 400°F to 450°F to get a nice golden-brown crust on the chicken.
- Once the chicken is seared, reduce the cooking temperature to a gentle simmer, between 275°F to 325°F, to allow the meat to braise slowly and evenly.
- Maintain a consistent braising temperature throughout the cooking process to ensure the chicken cooks through without becoming dry or tough.
- Adjust the cooking temperature as needed, based on the size and cut of the chicken, to achieve the perfect braising time and temperature combination.
By following these time and temperature guidelines, you’ll unlock the secret to juicy, tender braised chicken every time.
Common Braising Mistakes to Avoid
Mastering the art of braising chicken can transform a simple dish into a mouthwatering culinary delight. However, even seasoned cooks can sometimes stumble upon common braising pitfalls. By understanding these potential missteps, you can ensure your braised chicken is consistently tender, flavorful, and cooked to perfection.
One of the most frequent braising mistakes is overcrowding the pan. When the chicken pieces are too tightly packed, they steam rather than brown, resulting in a pale, lackluster appearance and texture. Ensure you give the chicken ample space to sear and caramelize, browning the meat properly before the braising process begins.
Another common cooking error is failing to deglaze the pan after searing the chicken. The browned bits, or fond, left in the pan are a treasure trove of flavor. By deglazing with a liquid, such as wine or broth, you can incorporate these flavors into the braising liquid, enhancing the overall dish.
- Overcrowding the pan can lead to steaming rather than browning
- Neglecting to deglaze the pan after searing the chicken results in lost flavor
- Insufficient seasoning can result in a bland, lackluster braised chicken
Lastly, one of the most crucial troubleshooting steps is ensuring the chicken is properly seasoned. Insufficient seasoning can result in a bland, lackluster braised chicken, no matter how carefully you follow the recipe. Be generous with your use of salt, pepper, and any other aromatic seasonings to bring out the natural flavors of the chicken and the braising liquid.
“Braising is a technique that transforms tough, inexpensive cuts of meat into tender, flavorful dishes. Mastering the common pitfalls is key to achieving consistent success.”
By understanding and avoiding these braising mistakes, you can elevate your braised chicken to new heights of deliciousness. With a little practice and attention to detail, you’ll be on your way to creating comforting, restaurant-quality braised chicken in your own kitchen.
Complementary Side Dishes for Braised Chicken
When it comes to pairing side dishes with delectable braised chicken, the options are truly endless. To perfectly complement the rich, tender flavors of the main course, consider a variety of vegetable pairings, grain accompaniments, and starch options.
Vegetable Pairings for Braised Chicken
Roasted root vegetables, such as carrots, parsnips, and potatoes, provide a hearty and comforting counterpoint to the braised chicken. Sautéed greens, like kale or Swiss chard, add a touch of freshness and balance the dish. For a lighter option, a crisp green salad with a tangy vinaigrette can help cut through the richness of the chicken.
Grain and Starch Options
- Fluffy mashed potatoes or creamy polenta can soak up the delicious braising liquid, creating a satisfying and filling side.
- Fragrant basmati or jasmine rice offer a neutral base to let the chicken shine.
- Nutty quinoa or earthy farro provide a nutrient-dense and textural contrast to the tender chicken.
| Side Dish | Description |
|---|---|
| Roasted Root Vegetables | Carrots, parsnips, and potatoes roasted with herbs and spices to create a hearty, comforting side. |
| Sautéed Greens | Kale or Swiss chard sautéed with garlic and a touch of lemon for a fresh, vibrant accompaniment. |
| Mashed Potatoes | Creamy, fluffy mashed potatoes that soak up the delicious braising liquid. |
| Basmati Rice | Fragrant, long-grain basmati rice that provides a neutral base for the braised chicken. |
The key to creating the perfect side dish pairing for braised chicken is to balance the richness of the main course with complementary flavors and textures. Experiment with a variety of side dishes, vegetable pairings, grains, and starch options to find the perfect accompaniment that brings out the best in your braised chicken dish.
Storage and Reheating Tips
Properly storing and reheating your delicious braised chicken can make all the difference in preserving its mouthwatering flavors and tender texture. Let’s explore the best methods for storing braised chicken and reheating leftovers to savor every bite.
Refrigerating Braised Chicken
After enjoying your braised chicken, transfer the leftovers to an airtight container and place them in the refrigerator. The chicken will stay fresh for up to 4 days when stored this way. Be sure to allow the chicken to cool completely before refrigerating to prevent bacterial growth.
Freezing Braised Chicken
For longer-term storage, freezing braised chicken is an excellent option. Transfer the cooled chicken and its cooking liquid to a freezer-safe container or resealable bag, leaving some headspace for expansion. Properly frozen, the chicken can be kept for up to 3 months without losing its quality.
Reheating Braised Chicken
When ready to enjoy your leftover braised chicken, there are a few effective reheating methods to choose from:
- On the Stovetop: Gently reheat the chicken in a skillet with a splash of broth or water, stirring occasionally until heated through.
- In the Oven: Place the chicken in an oven-safe dish, cover with foil, and reheat at 350°F (175°C) until warmed.
- In the Microwave: Transfer the chicken to a microwave-safe dish, cover loosely, and reheat in 1-minute intervals, stirring between, until heated.
Whichever reheating method you choose, be sure to monitor the chicken closely to prevent it from drying out or becoming tough. With a little care, you can enjoy your braised chicken leftovers just as delicious as the day you first prepared them.
Wine Pairing Suggestions
When it comes to pairing wine with your delectable braised chicken, the choices are plentiful. The rich, savory flavors of this comforting dish can be perfectly complemented by a variety of red and white wine options. Let’s explore some of the best wine pairings to elevate your dining experience.
Red Wine Options
For those who prefer the bold and robust characteristics of red wine, a Pinot Noir or a light-bodied Merlot can be an excellent choice. Furthermore, the subtle earthy notes and smooth tannins of these wines create a perfect balance with the dish. In addition, their flavors harmonize beautifully with the rich depth of the braised chicken, enhancing the overall dining experience. Thus, choosing one of these red wines can elevate the meal to a whole new level of enjoyment.
- Pinot Noir: This versatile red wine offers a delicate balance of fruit and acidity, making it a perfect pairing for the tender chicken and its accompanying sauce.
- Merlot: The soft, velvety texture of a Merlot can provide a comforting contrast to the richness of the braised chicken, creating a harmonious dining experience.
White Wine Selections
If you’re in the mood for a lighter and more refreshing pairing, consider exploring the world of white wines. For instance, a crisp Chardonnay offers a smooth, balanced option that pairs beautifully with rich, braised dishes. Similarly, a bright Sauvignon Blanc provides a zesty contrast, cleansing the palate while enhancing and complementing the dish’s flavors. This thoughtful pairing can elevate the meal, creating a harmonious and enjoyable dining experience.
- Chardonnay: The creamy, oak-influenced notes of a well-balanced Chardonnay can provide a smooth, elegant counterpoint to the braised chicken.
- Sauvignon Blanc: The zesty, citrusy character of a Sauvignon Blanc can help to cut through the richness of the braised chicken, creating a refreshing and balanced pairing.
Whichever wine you choose, the key is to find a balance that enhances the flavors of both the food and the wine, creating a harmonious and satisfying dining experience. Experiment with different pairings to discover your personal favorite combination.
Conclusion
In conclusion, the art of braising chicken is a true testament to the power of simple, time-honored cooking techniques. This classic comfort food recipe has stood the test of time, and it continues to offer a delightful blend of tender, flavorful meat. Additionally, the rich and aromatic braising liquid enhances the dish, creating a combination that truly warms the soul. Moreover, its timeless appeal lies in the way it brings together simple ingredients to create something extraordinary, making it a favorite across generations.
Throughout this comprehensive guide, we’ve explored the science behind braising, the essential equipment and ingredients needed, and the step-by-step process for achieving perfectly braised chicken every time. Whether you’re a seasoned home cook or a novice in the kitchen, this recipe is sure to become a staple in your culinary repertoire.
So, why not give this braised chicken recipe a try and experience the joy of comfort food made right at home? Experiment with different herbs, spices, and vegetables to customize the flavors to your liking, and savor the delicious results with family and friends. With a little time and patience, you’ll be rewarded with a dish that embodies the very essence of home cooking.
FAQ
What does it mean to braise chicken?
Braising is a cooking technique where chicken is first seared to develop a flavorful crust, then slowly simmered in a flavorful liquid, such as broth or wine, until the meat becomes incredibly tender and juicy.
What is the secret to juicy, tender chicken?
The secret to achieving juicy, tender chicken when braising lies in cooking it low and slow for the best results. To begin with, simmering the chicken in a flavorful liquid over an extended period allows the magic to happen. As a result, the connective tissues gradually break down, which ultimately leads to meat that is irresistibly fall-off-the-bone tender. Moreover, this method enhances the flavor, making every bite both delicious and satisfying.
How do I choose the best cuts of chicken for braising?
Dark meat cuts, such as chicken thighs and drumsticks, are undoubtedly the best choices for braising. This is because their higher fat content plays a crucial role in retaining moisture throughout the cooking process. Furthermore, this fat ensures the chicken stays tender, even during extended periods of low and slow cooking. As a bonus, dark meat also absorbs flavors more effectively, making it an excellent option for rich, savory braised dishes.
What ingredients should I use to create a flavorful braising liquid?
To build a rich, flavorful braising liquid, you’ll want to include a combination of aromatics like onions, garlic, and herbs, along with wine or stock and acidic elements such as tomatoes or vinegar. Additionally, these ingredients work together to infuse the chicken with deep and complex flavors, enhancing the overall taste. By carefully layering these components, the braising liquid not only complements the chicken but also creates a delicious sauce that can elevate the dish even further.
How do I properly prepare the chicken before braising?
Before braising, it’s important to properly season the chicken, bring it to room temperature, and sear it to develop a flavorful crust. This initial searing step helps lock in the juices and creates a delicious base for the braising liquid.
What are some common mistakes to avoid when braising chicken?
Some common mistakes to avoid when braising include overcrowding the pot, which prevents proper browning and even cooking. Another error is failing to sear the chicken properly, as this step adds essential depth of flavor to the dish. Additionally, using low-quality or insufficient braising liquid can leave the dish lacking in taste and richness. Lastly, overcooking the chicken should be avoided, as it can lead to dry, tough meat instead of the desired tender result.
What are some good side dish options to serve with braised chicken?
Braised chicken pairs beautifully with a variety of side dishes, such as roasted vegetables, creamy mashed potatoes, buttered egg noodles, or a fresh green salad. These sides help soak up the rich, flavorful braising liquid.